
# Moving OpenCore from USB to macOS Drive
# Grabbing OpenCore off the USB
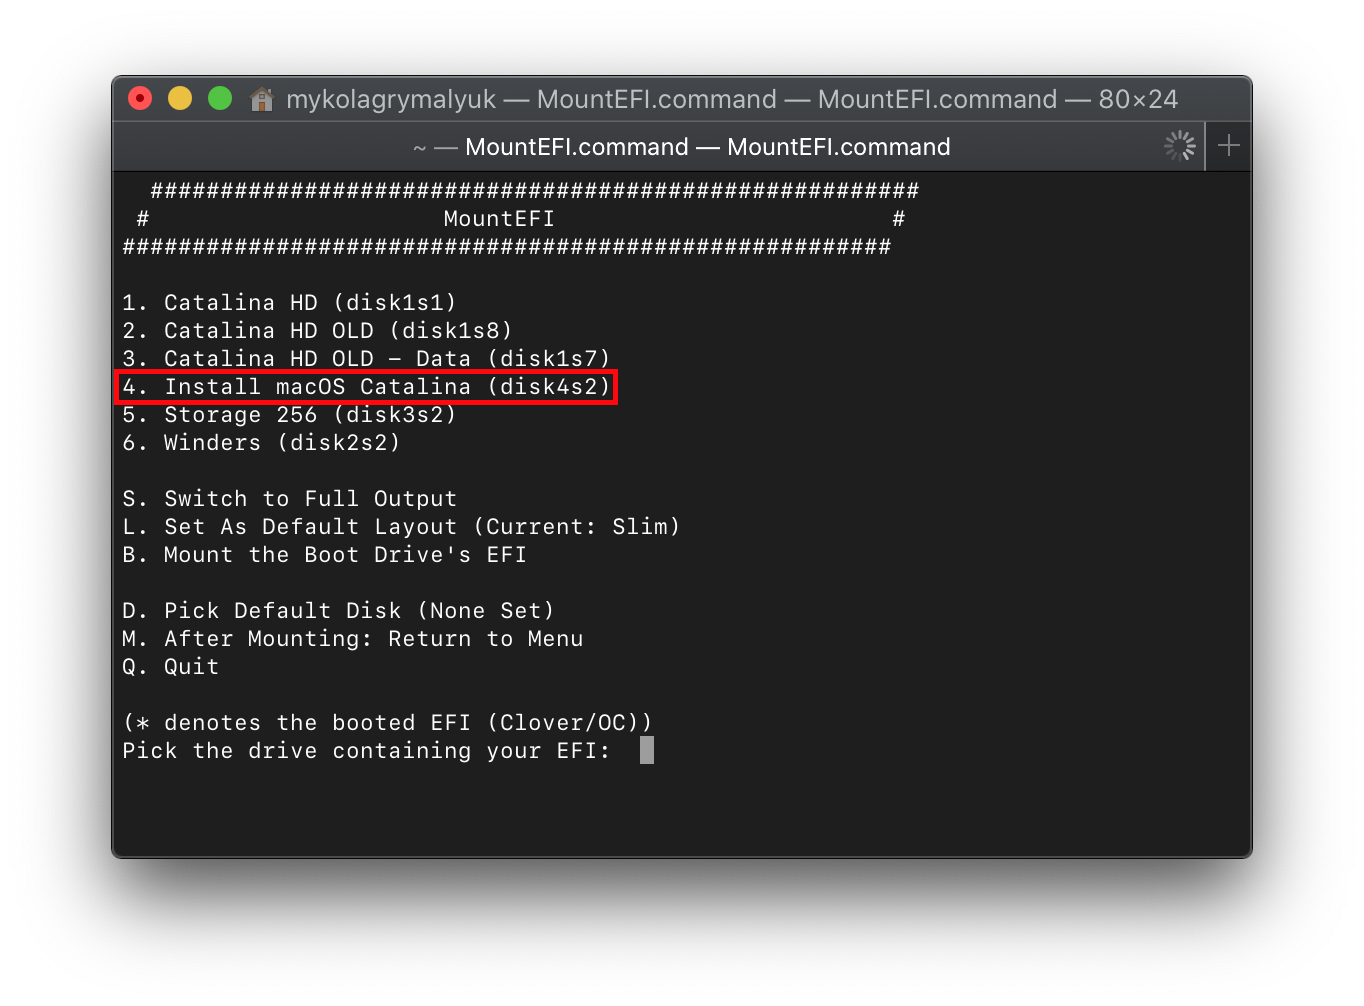
So to start, we'll first want to grab OpenCore off of our installer. To do this, we'll be using a neat tool from CorpNewt called MountEFI (opens new window)
For this example, we'll assume your USB is called Install macOS Catalina:
Once the EFI's mounted, we'll want to grab our EFI folder on there and keep in a safe place. We'll then want to eject the USB drive's EFI as having multiple EFI's mounted can confuse macOS sometimes, best practice is to keep only 1 EFI mounted at a time(you can eject just the EFI, the drive itself doesn't need to be removed)
Note: Installers made with gibMacOS's MakeInstall.bat on Windows will default to a Master Boot Record(MBR) partition map, this means there is no dedicated EFI partition instead being the BOOT partition that mounts by default in macOS.
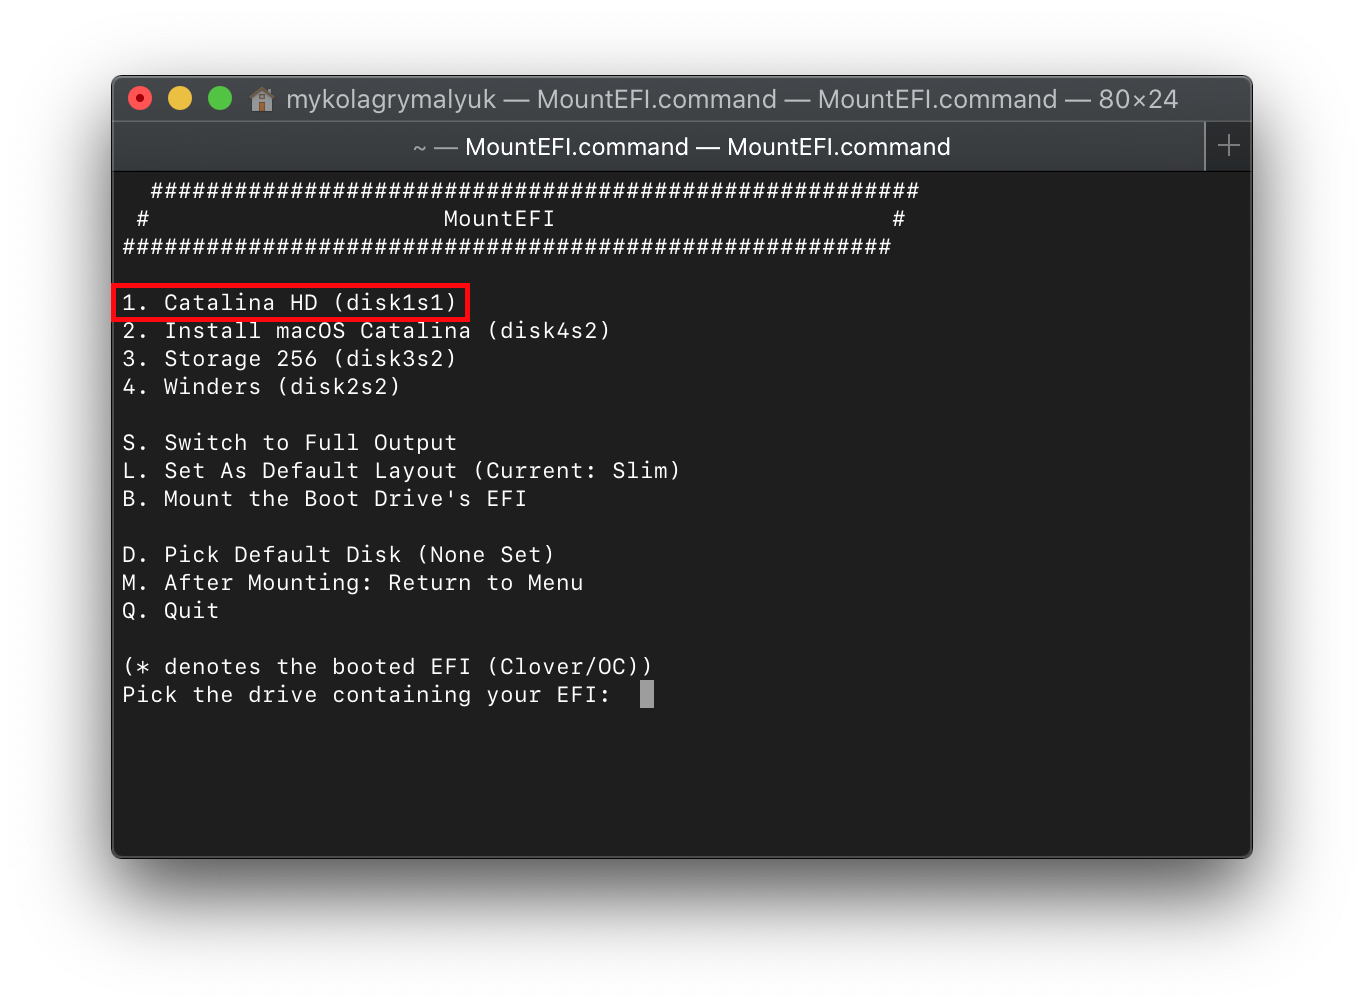
Now with this done, lets mount our macOS drive. With macOS Catalina, macOS is actually partitioned into 2 volumes: System Partition and User Partition. This means that MountEFI may report multiple drives in it's picker but each partition will still share the same EFI(The UEFI spec only allows for 1 EFI per drive). You can tell if it's the same drive with diskXsY (Y is just to say what partition it is)
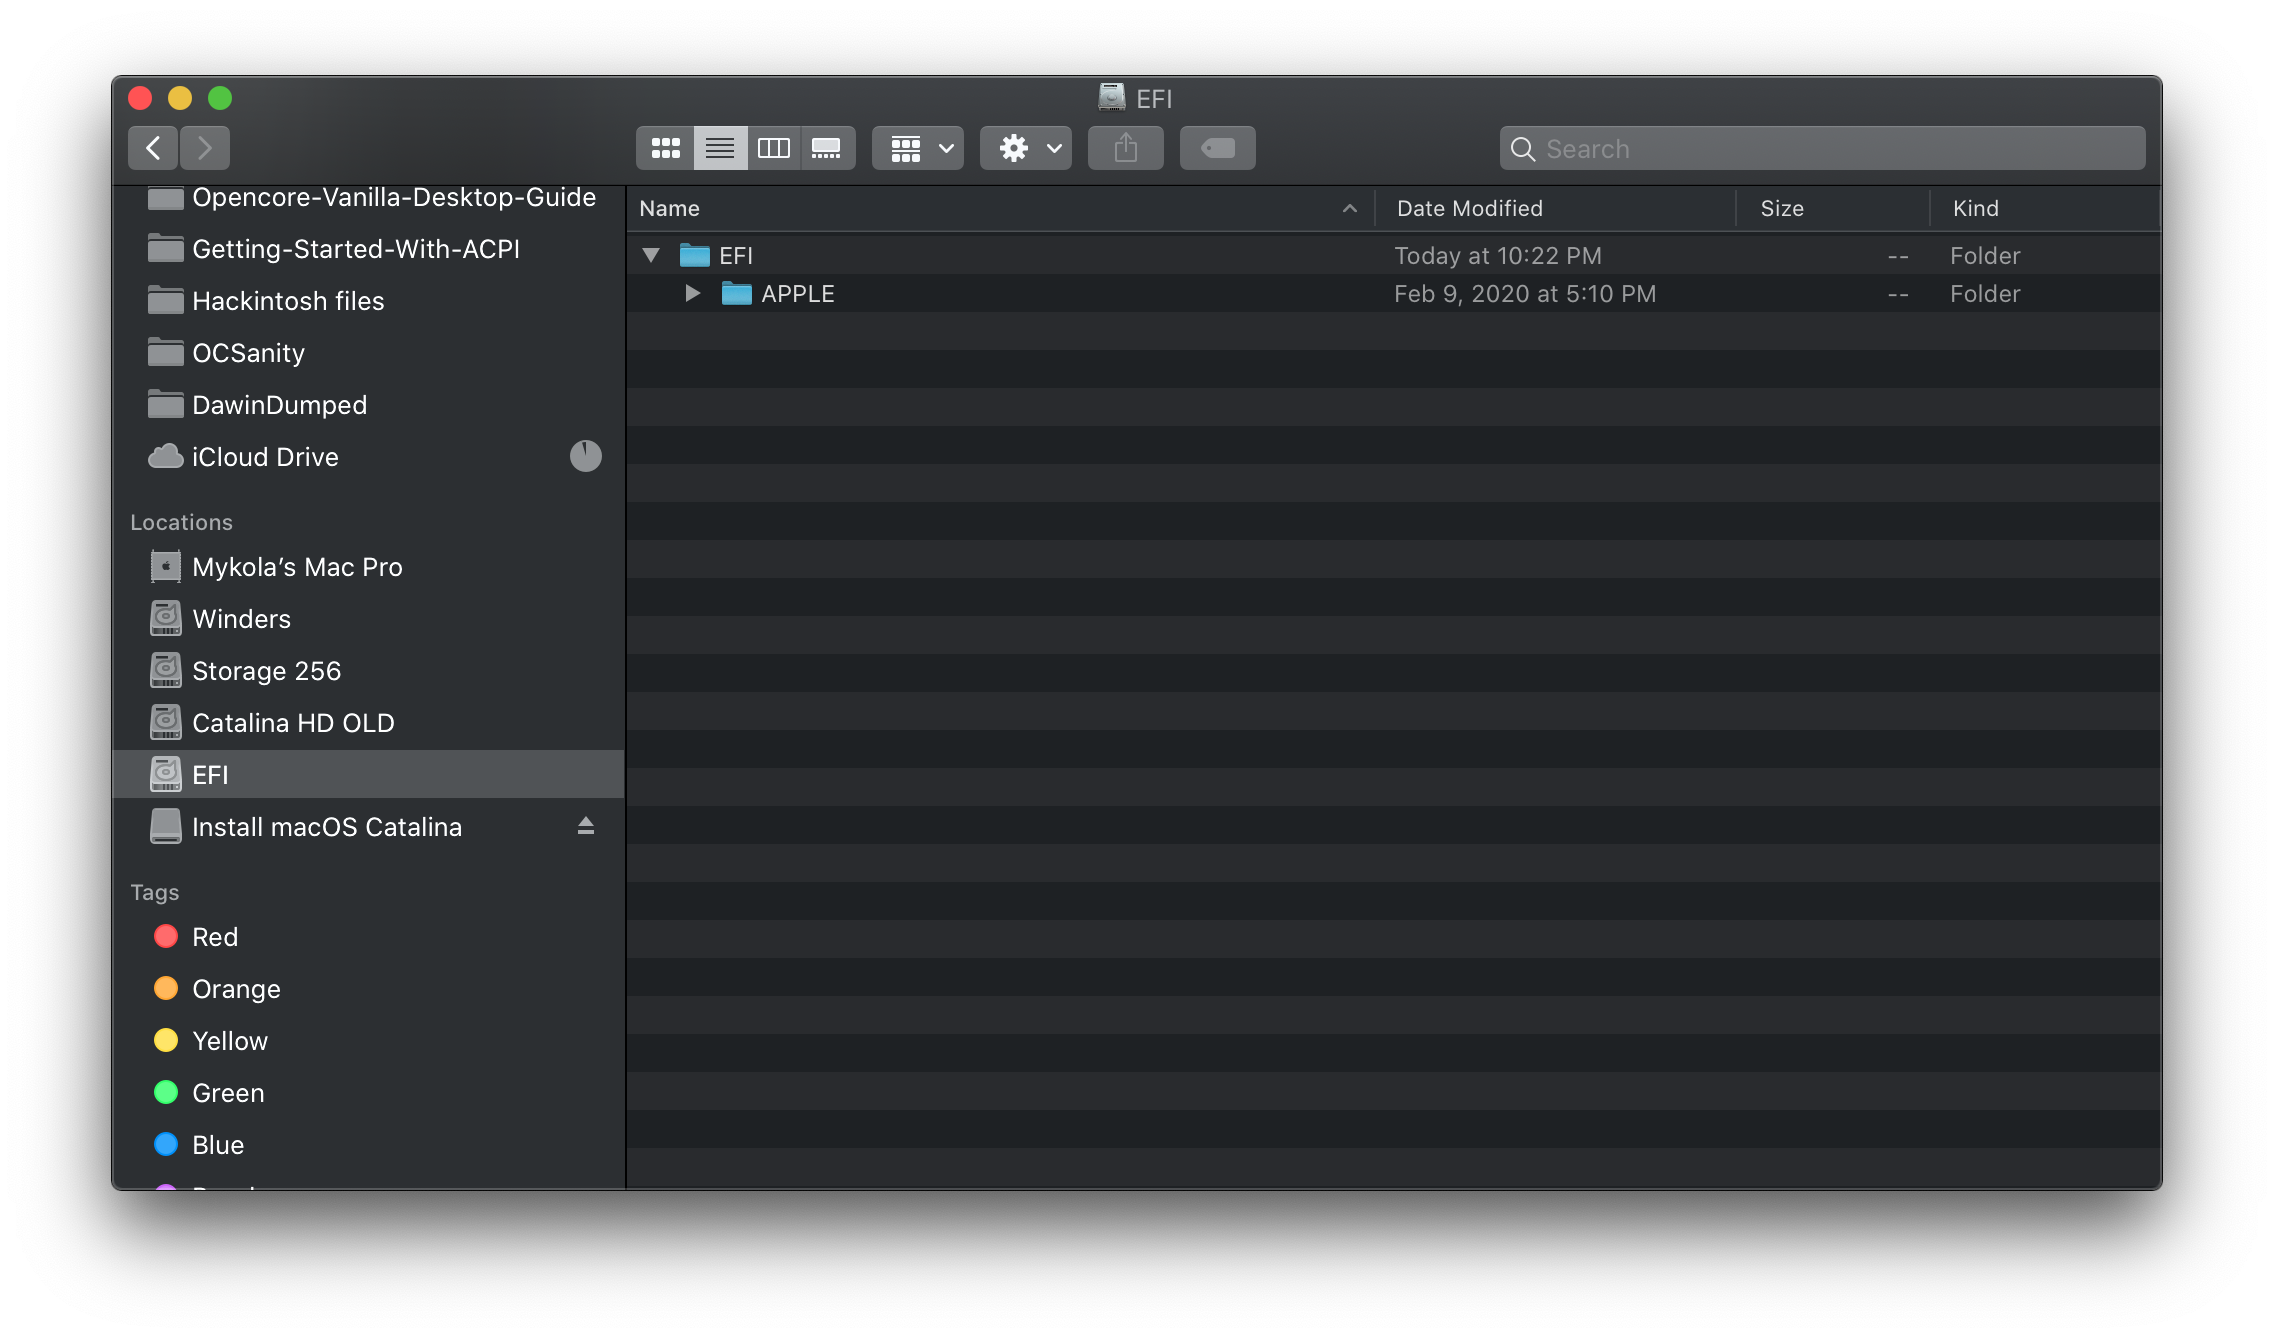
When you mount your main drive's EFI, you may be greeted with a folder called APPLE, this is used for updating the firmware on real Macs but has no effect on our hardware. You can wipe everything on the EFI partition and replace it with the one found on your USB
# Special note for Insyde/H2O BIOS users
If your BIOS is a Insyde or InsydeH2O BIOS, you may notice that while attempting to dual boot Windows & macOS only Windows Boot Manager is a viable option after copying your OpenCore to your internal drive. This is due to the way Insyde blocks booting from EFI/BOOT/BOOTX64.EFI and the only workaround is to add an entry to your UEFI Boot Menu via NVRAM. To do this, follow the steps outlined below:
Note: This assumes that you are back in Windows and starts from there.
Warning: This will temporarily prevent Windows from booting until completed. Do NOT delete bootmgfw.efi if you plan on dual-booting.
- Access your EFI via administrative console (Admin Terminal) while in Windows, or use Explorer++
- Rename the
bootmgfw.efifile underEFI/Microsoftto something you can remember, but it cannot have .efi at the end) - Replace
BOOTX64.EFIinsideEFI/BOOTwith the one from your OpenCore install - Reboot machine
- You should see OpenCore again as before, boot back into macOS
- Go into your config.plist, and enable
LauncherOption- For more information on
LauncherOption, please click here. - For newer InsydeH2O revisions, you can attempt to use
Full, but if it fails switch toShortas most older Insyde BIOSes have a hard time reading full device paths.
- For more information on
- Reboot once more, but instead of booting into macOS, choose the reboot option at the OpenCore Boot Picker
- To do this, press
Tabuntil the Reboot option is highlighted (Pressing Tab halts the timeout for auto-boot)
- To do this, press
- Press the key to access your UEFI Boot Menu, and you should see a new entry called OpenCore
- OpenCore should boot normally at this point.
- Mount your EFI using your favorite tool in macOS like normal, and rename the
bootmgfw.efifile you renamed earlier back to its original file name. - Reboot but go into your UEFI BIOS Utility
- Windows Boot Manager will be at top of the list now.
- OpenCore should be below it, use the key associated to moving entries up or down, and move OpenCore so it is above Windows Boot Manager.
- Reboot and OpenCore should boot normally with Windows as an option.
Note: Cleaning your NVRAM, updating your BIOS, and restoring your BIOS to factory defaults will wipe this entry from your list, as the entry is added via NVRAM.
# Special notes for legacy users
When transferring over your EFI, there are still boot sectors that need to be written to so your non-UEFI BIOS would be able to find it. So don't forget to rerun the BootInstallARCH.tool (opens new window) on your macOS drive.